| Info |
|---|
Purpose: This includes instructions for how to format a Payroll Batch in Excel. Outcome: Staff know the steps to download a batch after it has been created in OR PTC DCI and how to format it in Excel to make it user-friendly. |
Staff -
...
How to Download and Format a Batch
...
Using Excel QRG
...
Excel has features for editing column widths, filtering, and sorting columns. Staff with the Payroll Team role can download a batch report into Excel. Then the batch can be organized and customized.
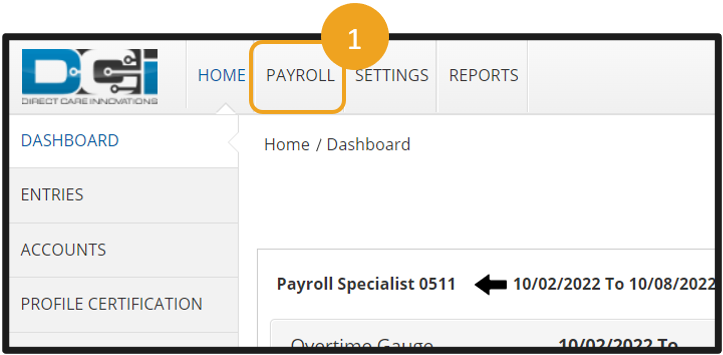
- From your home dashboard, click Payroll, then click Batches.
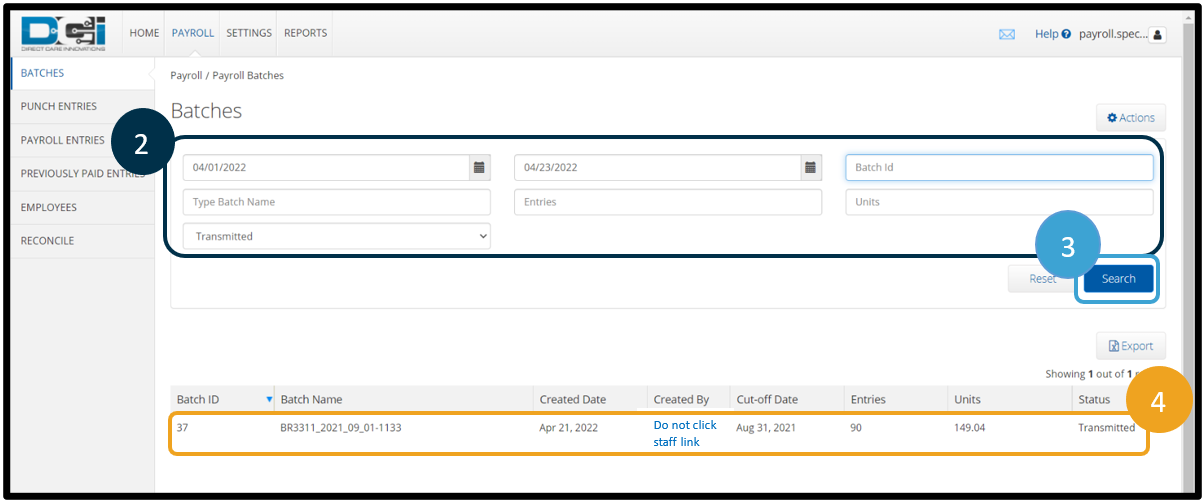
- Enter search criteria for the batch you want to download, such as date the batch was pulled.
- Click Search.
- Click the batch you want to download. You can click on any part of the row except the hyperlink under Created By.
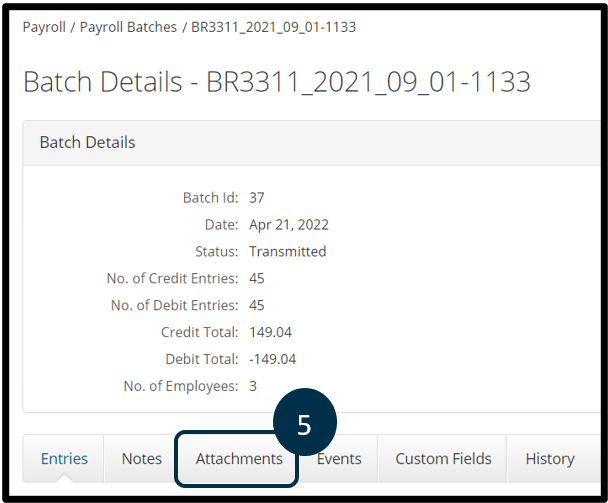
- The Batch Details will display. Click on Attachments.
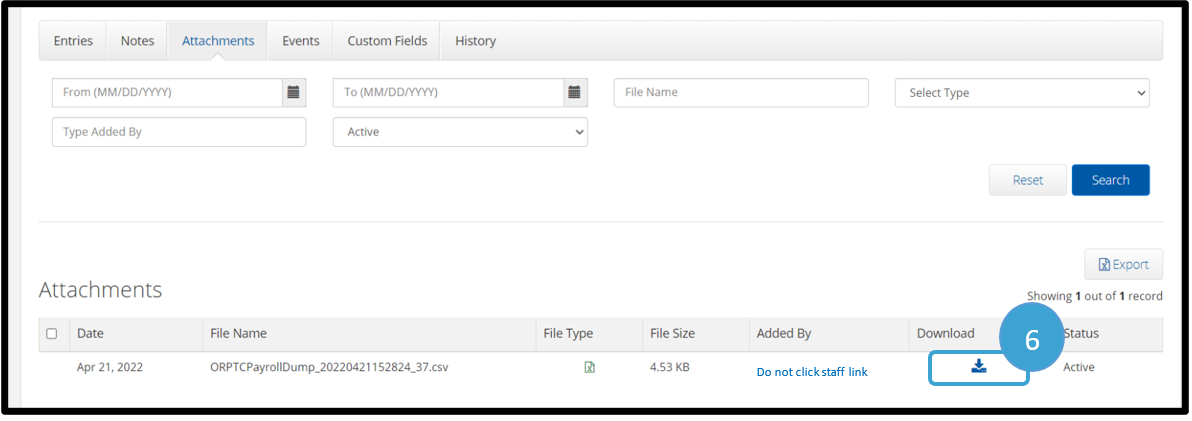
- Attachments will display showing the date, file name, file type, file size, added by, download & status. Click the blue arrow under Download.
- Click on the Open file link. Depending on your browser settings, this may appear differently. You can also go to your Downloads folder and open the batch from there.
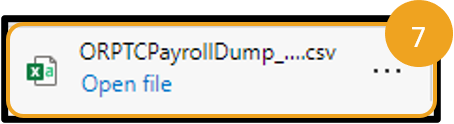
The batch will open in an un-formatted state.

Note icon false title Note Make sure to save this as an Excel Workbook with the same name as was given to it in OR PTC DCI. In this example, save it as BR3311_2021_09_01-1133.
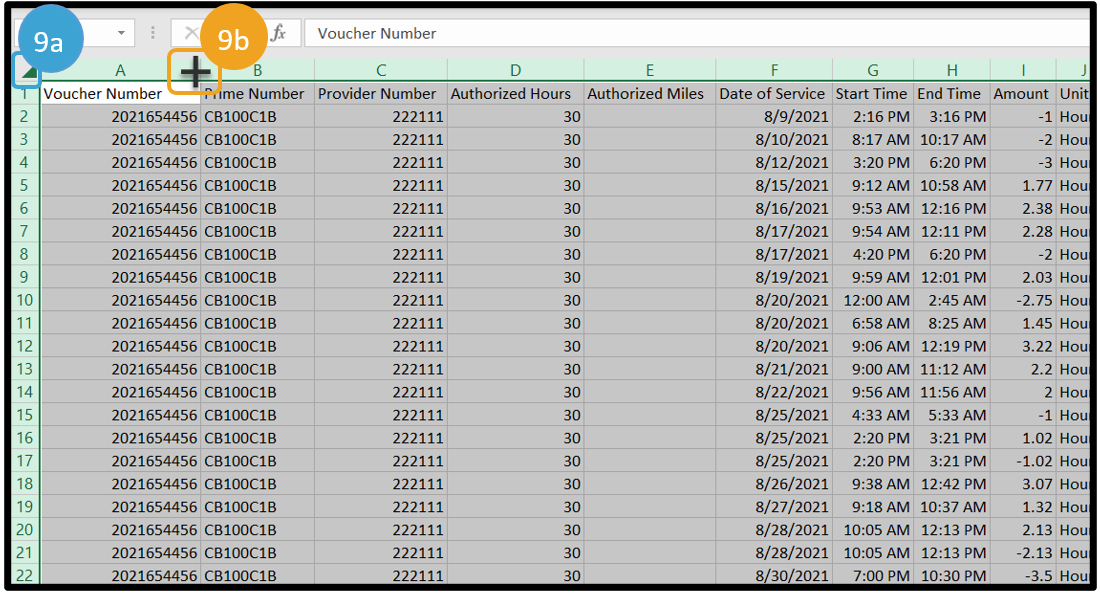
- Re-size the columns.
- Click on the small triangle in the upper left corner of the data to highlight the spreadsheet.
- Place the curser in between two columns. The curser should become a cross type shape. Double-click. The columns will automatically re-size.
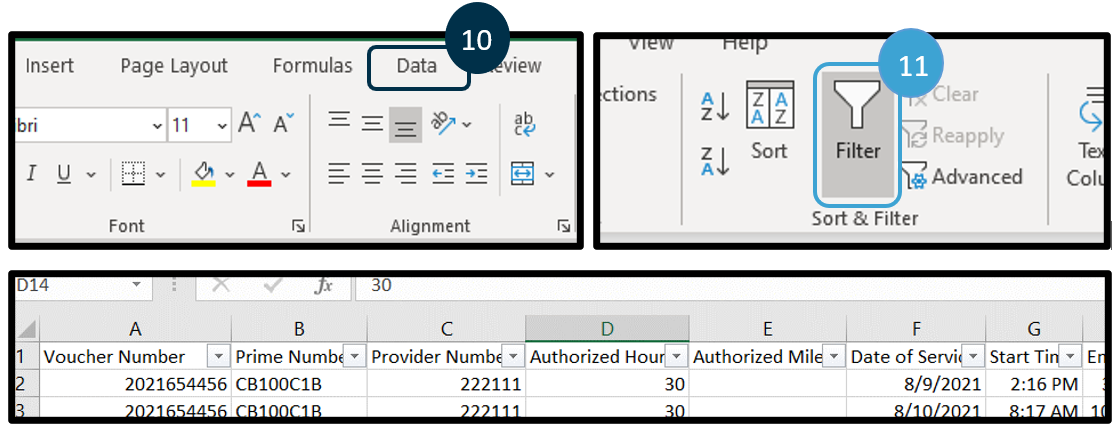
- With the data still highlighted, click Data from the command ribbon.
- Click Filter. The spreadsheet will now display filterable arrows in each column. This will give you the option to filter the data, so you are only seeing a portion of it at once.
- Keep all data selected and under the Data tab, click Sort.
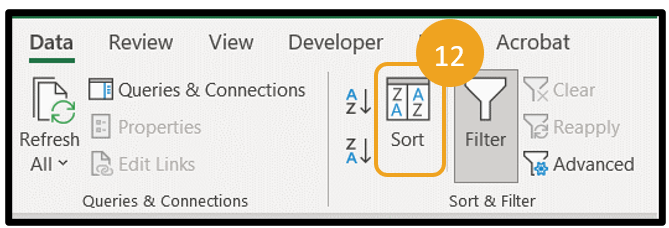
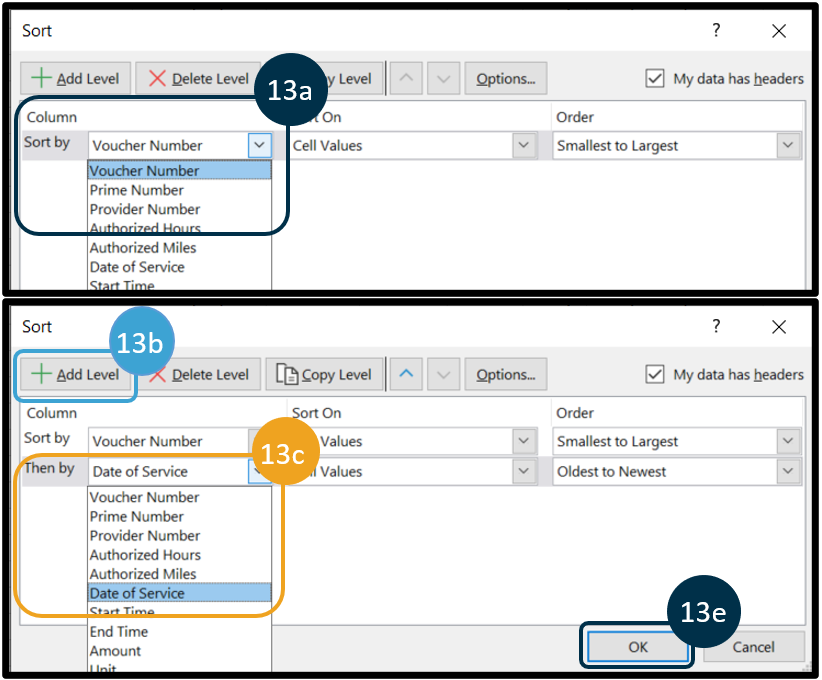
- Sort the data by voucher number first and then service date for easy entry into Mainframe. To do this:
- In the Sort by Column drop down, select Voucher Number.
- Click Add Level.
- In the Then by Column, select Date of Service.
- You can continue this process to add any other sorting criteria that will make time entry into Mainframe easier. For example, you may wish to then sort by Start Time. How you sort is up to personal preference.
- Click OK.
- Make sure to Save your changes.
...
Related articles
| Content by Label | ||||||||||||||||||
|---|---|---|---|---|---|---|---|---|---|---|---|---|---|---|---|---|---|---|
|
...