Description: In this topic, the user will learn how to create availability templates for supervisor review.
*Please note: Templates can be created for up to 13 weeks in length and are for a set of days that have the same availability. For example, if the user is only available from 6 AM to 6 PM on weekdays, but is available all day on weekends, two different availability templates must be created. Templates must be renewed when they have reached their end date. Changes can be made to pending, published, and approved templates. If an approved template is edited, it must be re-published for supervisor review.
Role Required: Employee (base user)
Permission Required: N/A
Create an Availability Template
- Log in to DCI
- Click Availability on the submenu
- Click Actions
- Select Create Template from the drop-down menu
- Complete the Create Template form wizard
- Template Name: Create a name for the template (e.g., Jennifer Smith Q3)
- Time: Select the start time
- To: Select the end time
- If different days have different start and/or end times, a separate template must be created.
- Date: Select the date the template begins
- To: Select the date the template ends
- Days: Check the days of the week for the template
- Click Save and Yes to confirm
- Click Publish
- Click the checkbox of the template to send to the supervisor for approval
- Click Publish and Save to confirm
The schedule status has changed to Published. After supervisor review, it will turn green if approved and red if rejected. Repeat to create templates for other time frames on other days of the week as needed
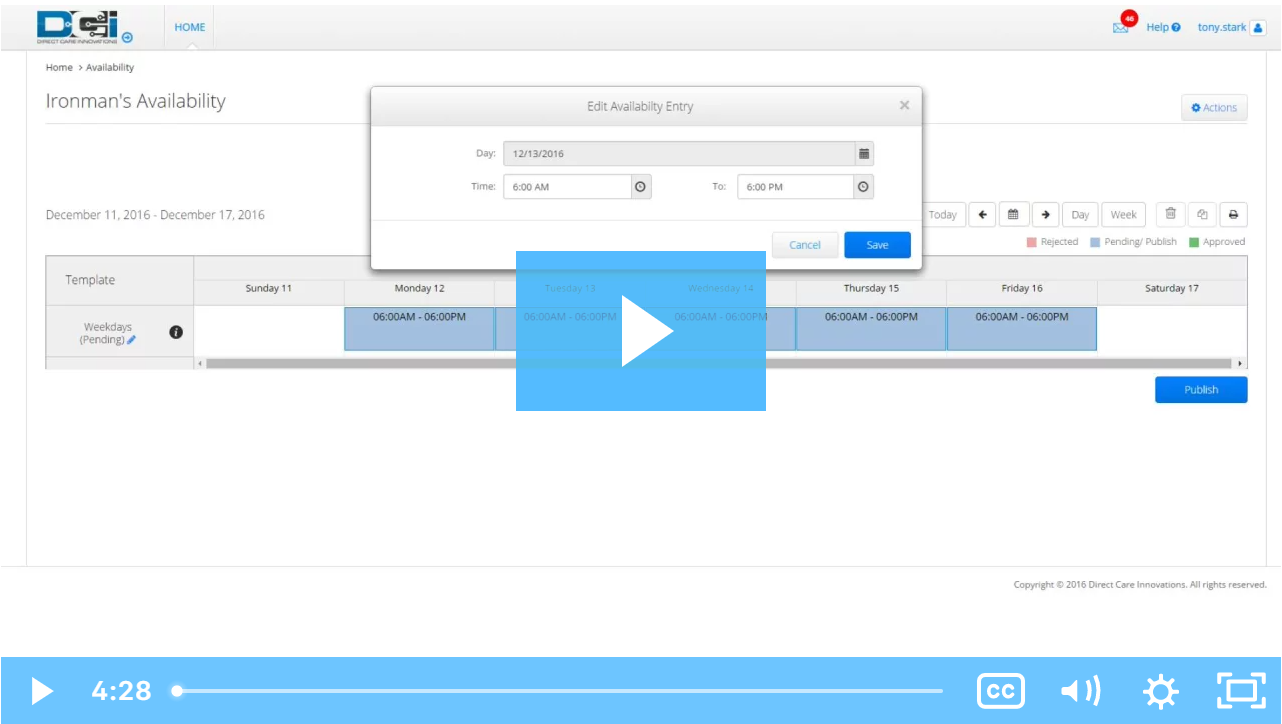
Edit an Availability Template
Make changes to the template by changing individual entries, or editing the entire template.
- To change an individual day, right-click on the entry.
- Click Edit to edit the start and end times
- Click Save and Yes to apply to just this individual entry. Click Yes to All to apply to all entries on the same day of the week.
- Click Delete to delete the entry from the template.
- Click Yes to apply to delete the individual entry or click Yes to All to delete all entries on the same day of the week.
- Click Edit to edit the start and end times
- To change the entire template, click the pencil icon next to Pending.
- When edits are complete, click Publish.
- Click the checkbox of the template to send to the supervisor for approval
- Click Publish and Save to confirm
The schedule status has changed to Published. After supervisor review, it will turn green if approved and red if rejected.
Click the video below to launch the video player in a new tab.
Related articles